The Guest Residence is coming along

The guest residence - as we do call our seminterrato with the high vaulted stone ceilings - is coming along. It is a very charming apartment with private garden terrace and stunning sea views. And it is ready to be tested:
Palazzo Pizzo Guest Residence
Who will do the test sleep on the new mattress ?
And who will test the rain shower under the vaulted ceiling with sea view?

For sure, we will test the gas stove and brew a coffee ... 
 ... and test the morning sun in the garden – and there we might notice, that a garden chair or stone bench is still missing.

We came a long, long way!

vaulted cellar before renovation, August 2006

Before and After, compare these photographs! - Stunning!
This is mainly Angelo's work, my father-in-law, who was working here hundreds of hours. How he preserved the stone walls and ceilings, how he elevated and insulated the floor, what special techniques and material he used, needs to be posted in another story.
But now, since everything is so pretty (and after another repaint of the walls), CC and I would love to welcome guests. We would like to host not only friends and family but also travelers who are looking for some peaceful days in a small sea side village to rest from their travels.
So this is my new project, to find out how to implement accommodation availability checks on my blog and credit card payments. In the meantime, if you are interested to become a test sleeper between July 7 and July 28, please contact me via email at writing(dot)suzie(at)yahoo(dot)com and check what can be arranged.
For further information go to Guest Residence Page or read the about the renovation.
more pics:


Before and After: How a tiny 2,6 m2 overhanging Toilet became a pretty Kids Bathroom


A bit over a year ago, I was planning the tiny overhanging bathroom that measures 1,4 m x 1,9 m (2,66 m2). Originally it was just an "outhouse" with a toilet, a bidet and a sink. But we wanted to install a shower - in order to have an "en suite bathroom" for our son's room.

And I have to say, I am really happy with the outcome!

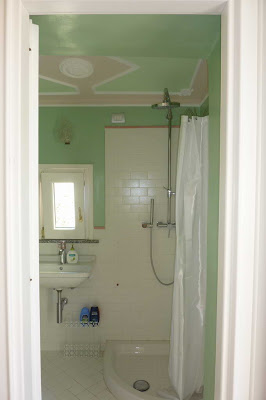
tiny kids bathroom 2,6 m2

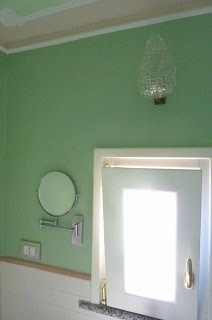
I had told Angelo (our "capo" and my father-in-law) that his grandson would like to have a "green" bathroom. And, that I like "subway" tiles. I designed the tiling for the floor and the walls. Angelo over exceeded our expectations by adding a stucco ceiling (that was not there originally)!

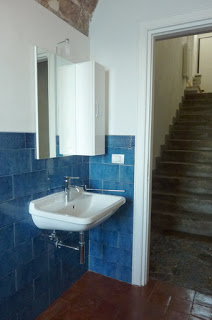
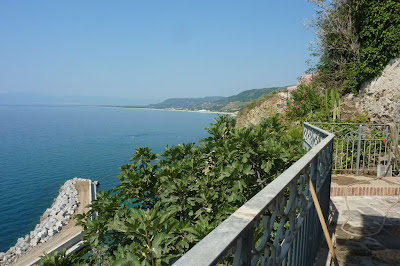
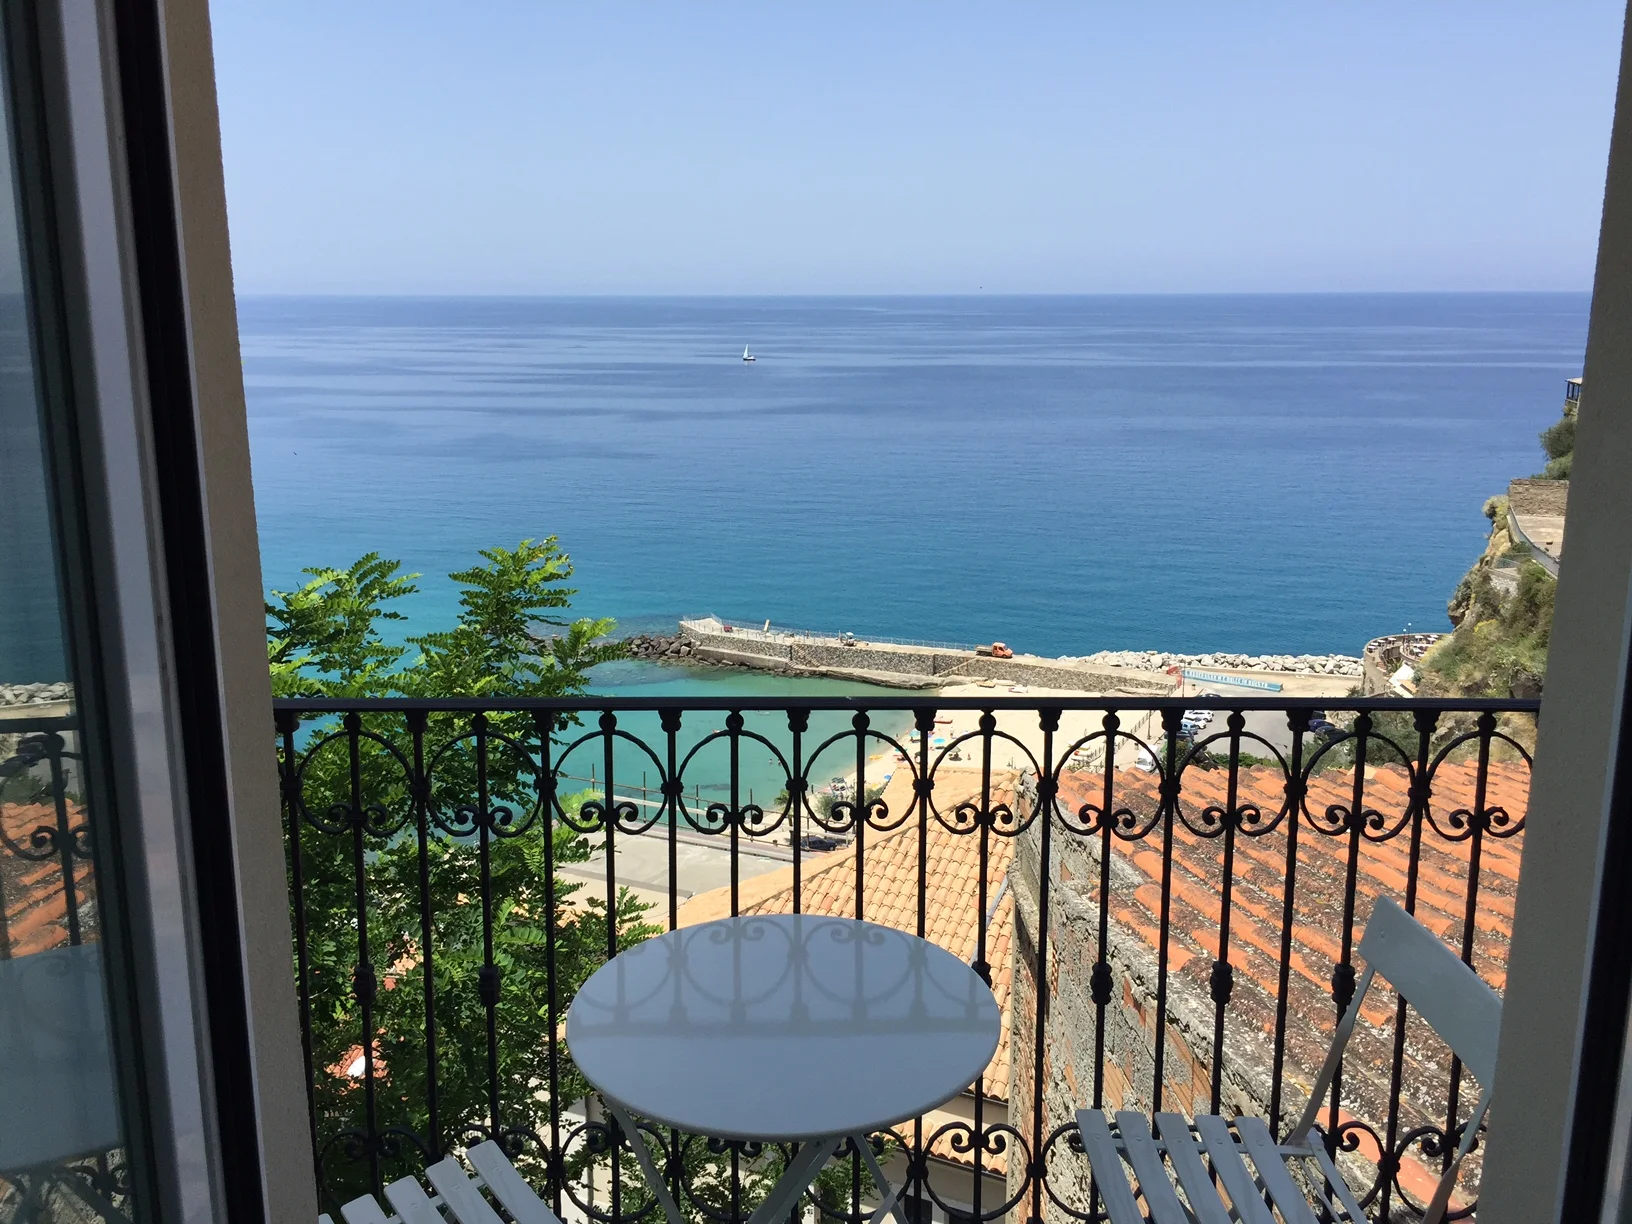
Since the sink is right below the window - where you have a nice view in the neighbours garden and over the sea - we needed to have the mirror installed beside the window.

Our young son does not use a mirror so far... So, I do not know whether this beauty mirror is too small or not. But it looks nice! It has the right size for this bathroom.

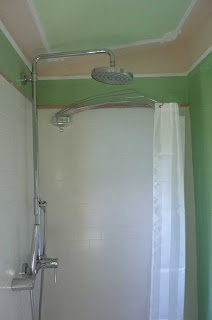
shower area 80 x 80 cm

If you wonder why we have a rain shower installed in such a small bathroom, then because we probably made a mistake when ordering the shower equipment back in China, where we were living at some point - a couple of years before this bath renovation.

But we were lucky, it just matches the height.

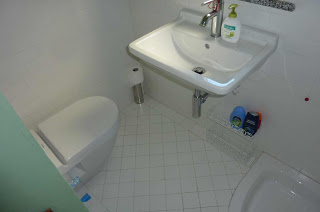
  small compact toilet
For the sink, I researched online the different sizes available for different models. At the end I choose a Duravit Strack 3 model, they have a lot of options. It is important for a small area to choose the largest possible sink - as it is a hassle to wash hands in a sink that is too small.

I even asked Angelo to sit down on the toilet (that was already delivered) and measure the space between his knees and the wall to make sure, there is still enough space between toilet and sink.

The two short blue tubes that stick out of the wall next to the toilet are the pre-installation for a water spray. In Italy it is common to use bidets in private bathrooms. But with the installation of the shower we really had no more space for a bidet. So we opted for the space saving water spray - yet to come.

The floor tiles are layed diagonally in order to optically strech the room.

"spider" shower curtain holder and "fish" hooks
In a shop in Vibo Valentia, we found these green "fish" hooks. There were only two left and I bought them. Angelo fixed them behind the bathroom door. In another shop I found the "spider" that is a space saving Italian solution for hanging the shower curtain.


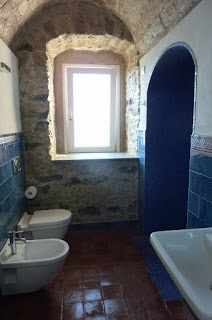
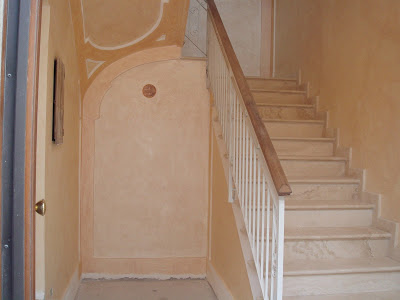
And here is the old bathroom, BEFORE renovation, as we found it when we bought the house:

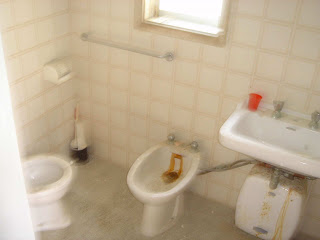
BEFORE toilet with bidet
The toilet itself was also very tiny before and squeezed into the left corner. The bidet was eliminated for our new bathroom layout. The sink was moved below the window to give space on the right corner for a small shower.
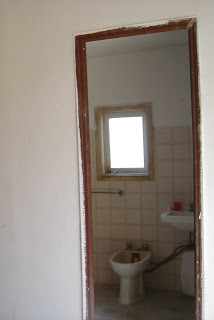
BEFORE renovation
The only thing that was bigger in this bathroom before the renovation and became smaller after the renovation, is the window! Strangely, the window frame is so massive that the new window is much tinier. Well, these are things you encounter when renovating, whether you are on site or thousand of miles away.

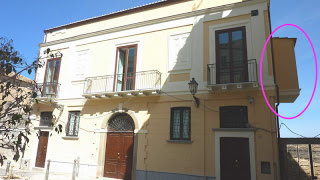
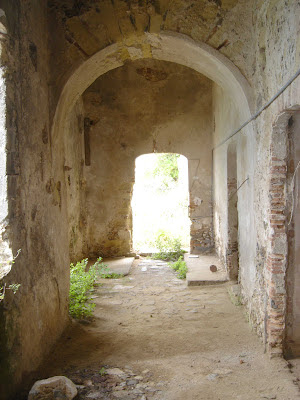
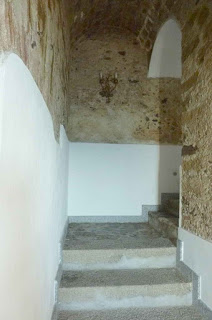
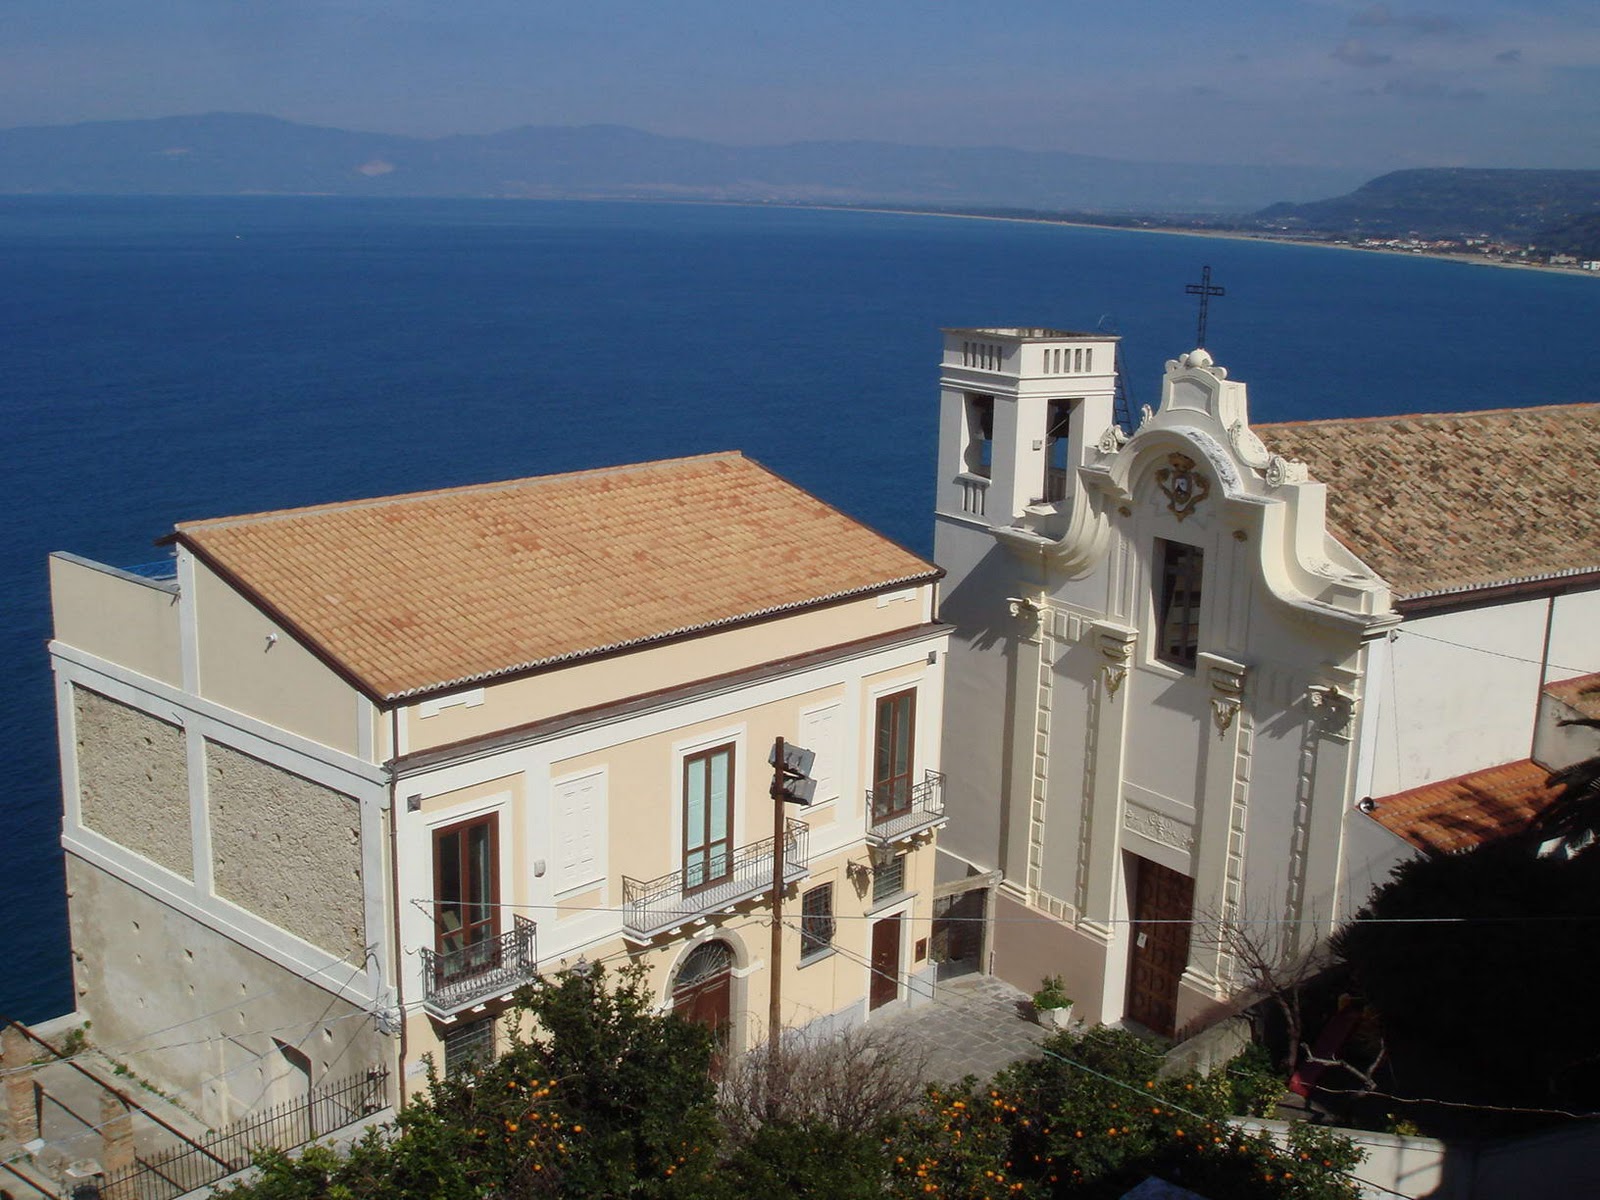
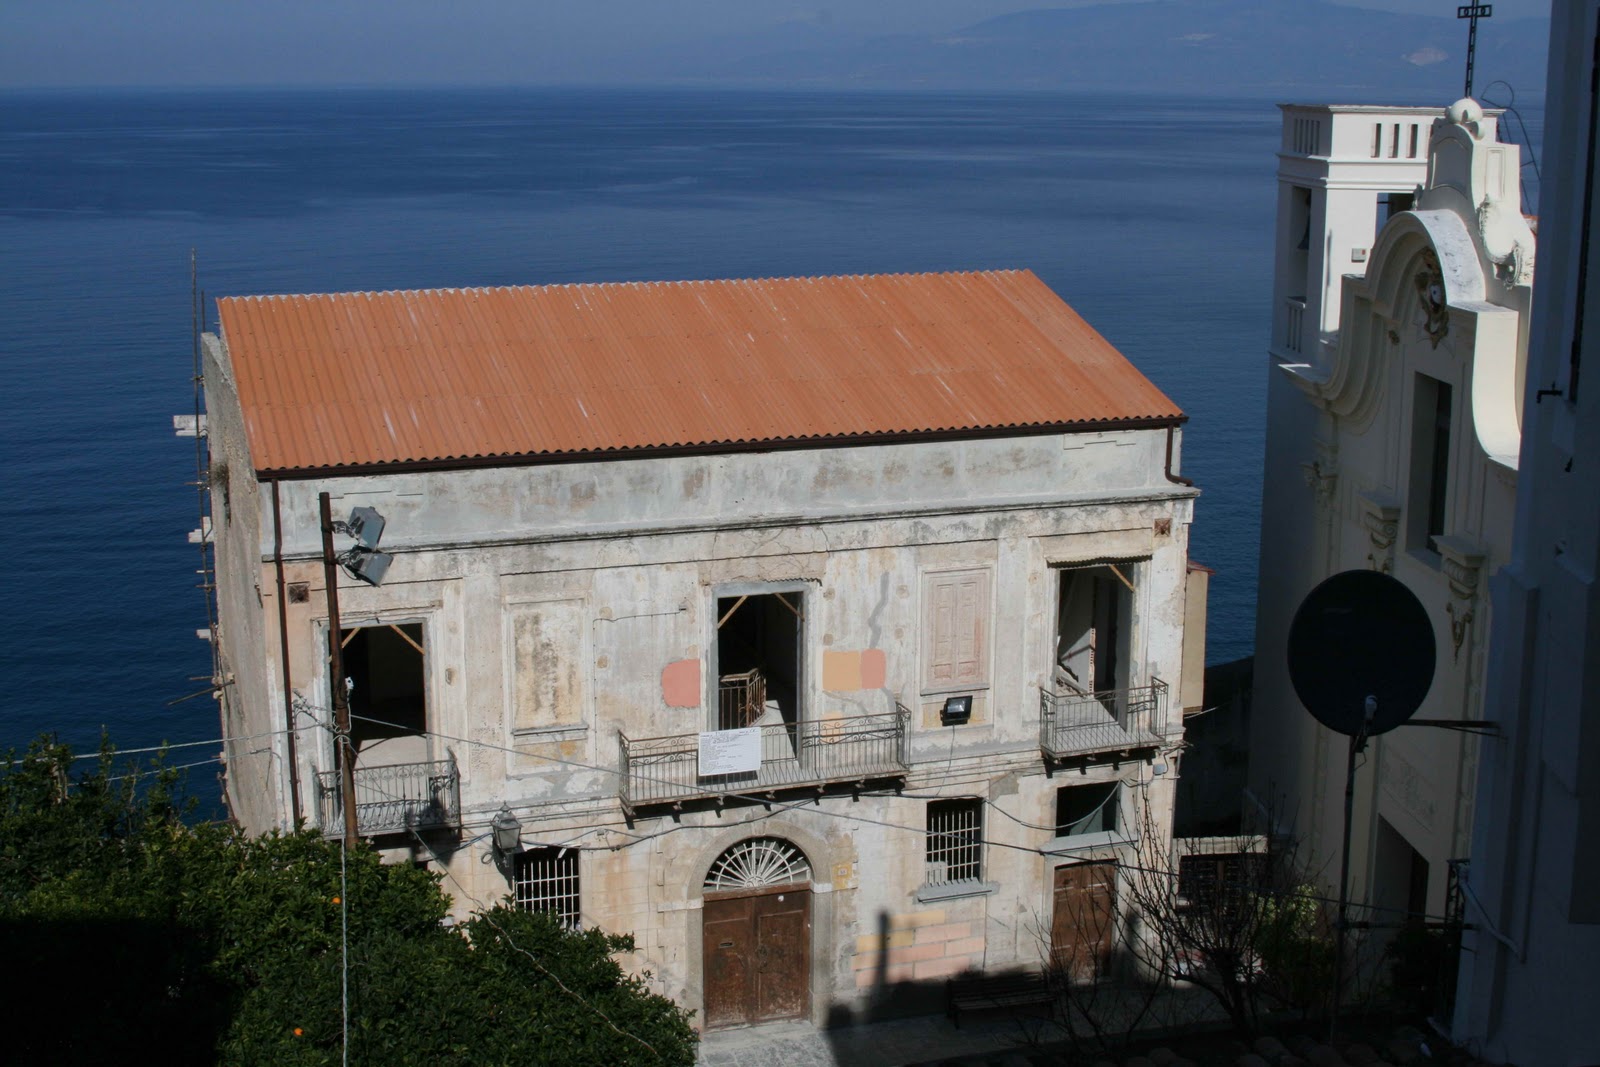
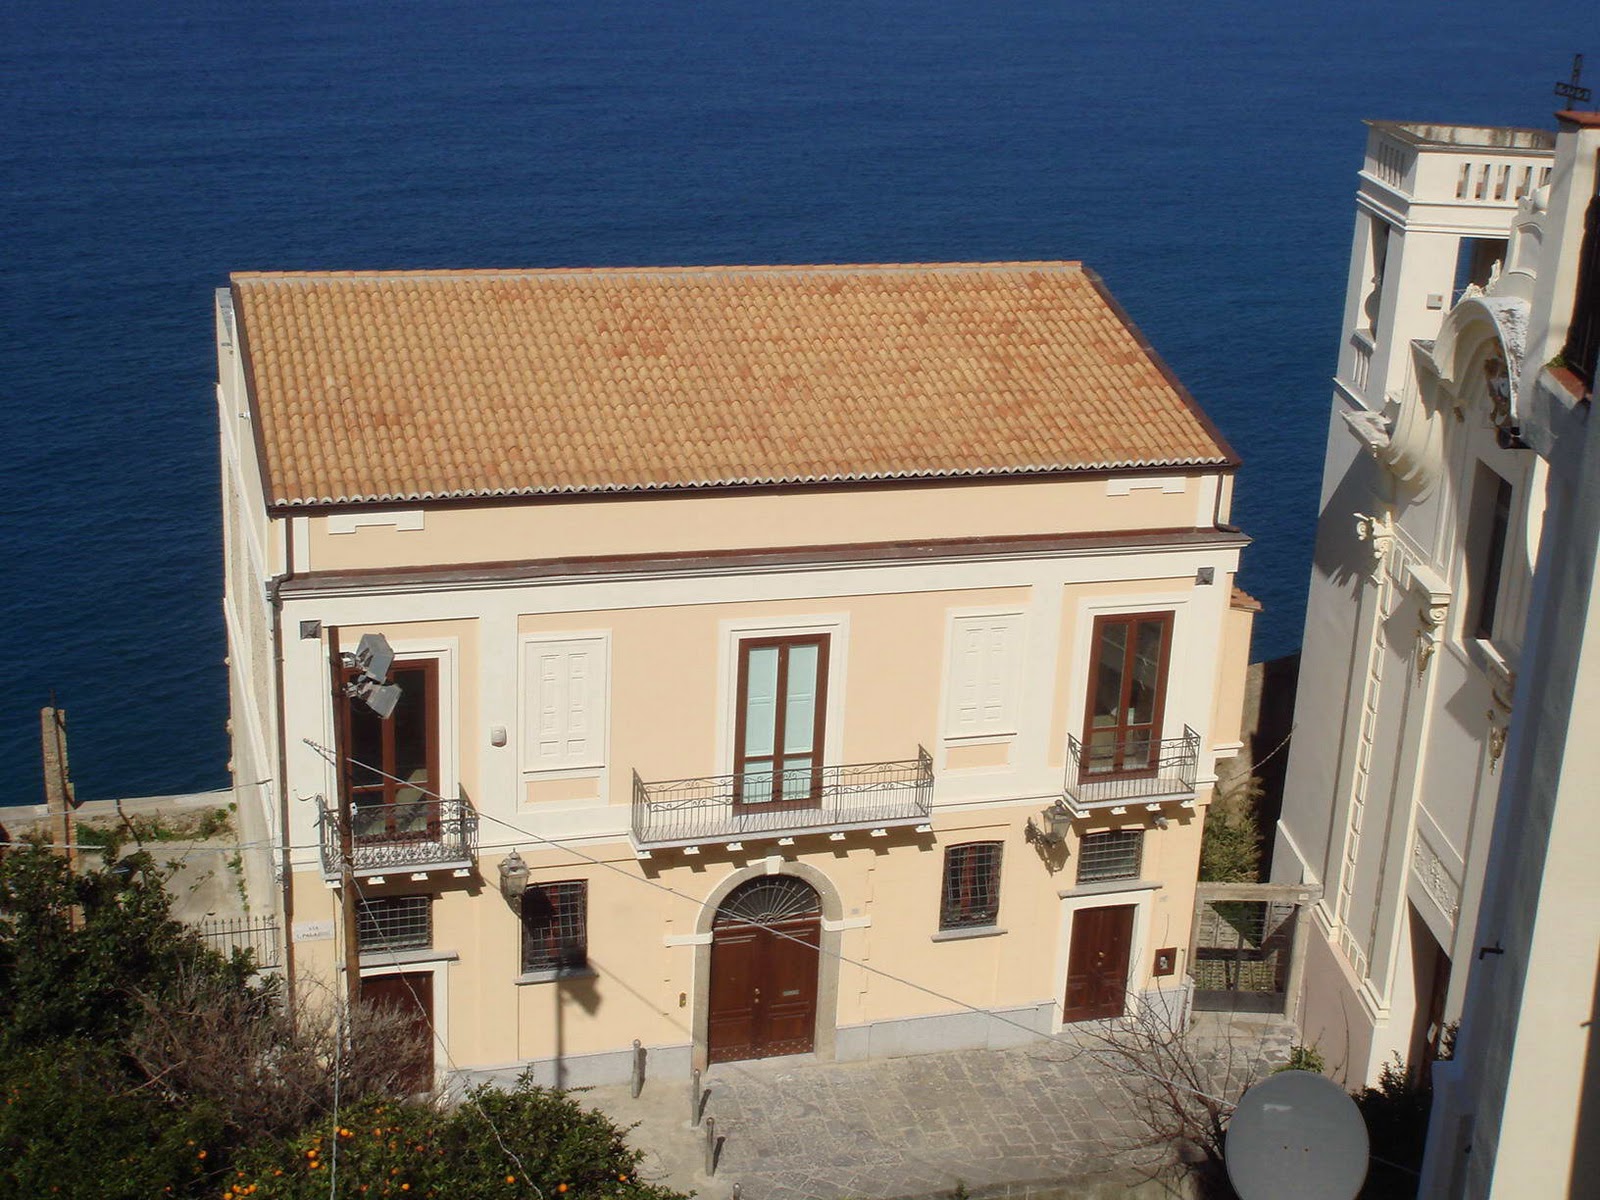
"outhouse" or overhanging bathroom
Our palazzo is over 200 years old, and at that time an outhouse toilet was common in European cities. You can still sea the remains on the side of many palazzi in Italy. But of course the toilets nowadays are linked to the public canalisation.

Sneak Peek into the Entrance

Now, a sneak peek into the house does not scare visitors off anymore

Remember, two years ago, when the movers carried the boxes in and a neighbour came with flowers? - Back then it still looked like this:

before
But two years later, finally, we can invite the neighbours over: 

further up the stairways it looks like this

and more further up like this

the stucco is repaired by Angelo while the lamp restored by myself

All the walls and ceiling restoration and painting was done by Angelo and the colour is his choice since he does not like it white - we know that by now ... Some summers ago, I am not even sure if I have ever posted it, the original lamp was "restored" and repainted by myself. Left alone the flooring that is still  not done yet as we have not decided on the material yet. But I am on site next week and then it will go on.

Before and After: Basement with Balcony

Our house has a basement, that we call our seminterrato, which means "half under earth" or souterrain. Our seminterrato, however, is very special: On one part it is really underground, carved into the rock, on the other side it has fantastic 180 degree see view 54 meter above sea level! And it has access to a small garden with a lemon tree, a fig tree, a bougainvilleas and some cacti. It did not have a balcony though. But this has changed. Angelo is always good for surprises. Now we have a balcony in our basement. It is a balcony for two people with shoe size 40 or so.... but look the transformation from before with no balcony and rusty wrought iron balustrade to after with small balkony and restored balustrade in blue (!) :

BEFORE in August 2006

in between in 2009
(...) 


iron rail painted blue

balcony railing moved further out to obtain a small balcony above the new haven

Angelo demonstrating the use of the new balcony

I am saving this post to a new label "guest residence". Our basement is beautiful, it is my favorite part of the house (actually, I cannot decide which floor I like best, they are all amazing). But since the house is too big for us alone it makes sense to rent our part of it. The only part that can perfectly be separated from the rest of the house is the seminterrato. It has its own entrance. It will have two bedrooms, a bathroom with sea view, a pantry kitchen with balcony and a garden. I already envy my guest... ha ha! Of course we also have one guestroom upstairs, but this can only be used for family and friends while the guest apartment can be rented out to vacationer spending some time in Pizzo.

At the moment we are working on the insulation of the floor and walls and will post new pictures soon. 
Meanwhile you can find more about the progress of the guest residence or seminterrato here.

Facade: before & after picture update

It is February, the sun is shining and the oranges are growing in neighbour's garden. Below it is our palazzo that stands together with this picturesque church at a small piazza with no name in the historic center of Pizzo.

view of Palazzo Pizzo, chiesa del Carmine and the bay with beaches of Pizzo

Now, below, this is an old picture of February 2008, when we just started the renovation and restoration. The old windows have been taken out already, the old doors are still in and we had some sample of coloured plaster painted on the facade. The roof is not tiled yet. The walls of the facade show cracks and damages. However, I love this picture. It shows a charming old house and a calm sea with sunshine. Oranges are growing in the neighbours garden and the church makes it even more peaceful. This picture is my screen saver since three years.

BEFORE: our house in February 2008

But Angelo complaint. After all the work he had supervised and done, I could update my screen saver, he said. So, I asked him to send me an update, same perspective please - and that's what I got:

AFTER: our house in February 2011

New plaster, new colour, new roof tiles, walls for window frames repaired and new windows mounted, new window sills, new entrance doors, new  zoccolatura (skirting board), new iron grids for ground floor windows, new roof rail and rain gutter,  restoration of "fake" stucco windows, re-painted balcony rails, new bell and name plate, installation of a second street lamp from the commune, dismounting of a flood lamp (for the church), rewiring for the lamps  .... - I think, this is it. For the exterior. But one old thing we reuse: the former green metal letter box plate.
 
 
You might also like these Before & After posts:
 
 
See all renovation posts BEFORE and AFTER.


Photo source:  photo nr. 2 was taken from a window of an apartment in a neighbouring house that was under renovation three years ago. But since this apartment now belongs to a foreigner who was not in Pizzo, Angelo had to climb on top of the roof to get a similar perspective. Mille Grazie !