QUICHE


Quiche Lorraine


A quiche has a pastry crust and a filling of eggs, cheese and cream which becomes a custard after baking. Instead of the classical “Lorraine” version from Alsace with bacon and ham, you can do a vegetarian version and add vegetables (cauliflower, spinach, peas, mushrooms, or else). Instead of a frozen short crust / pastry (Mürbeteig) DIY, it’s easy and fast. The following recipe is for an average quiche or tart form (up to 28 cm diameter) and up to 12 servings. It's a fast and ideal vegetarian dish for any Christmas buffet style lunch or dinner. 
Quich Lorraine
Quiche Lorraine (photo via pinterest)

Ingredients:

DIY short crust:

200 gr flour (250 gr, if you need more mass for a higher border)
100 gr butter (120 gr)
1 egg (add 2 spoons of cold water)
Baking soda and salt
 

For custard:

300 gr sour cream (or replace sour cream with liquid whipped cream or mix, see photo)
125 ml milk (equals empty sour cream cup of 150 gr filled with milk)
3 eggs
200-250 gr grated Gruyere (or Emmental) cheese
100-150 gr of bacon and ham for classic quiche (or vegetables of your choice)
1 small red onion (optional)
Seasoning: nutmeg, salt, pepper
 
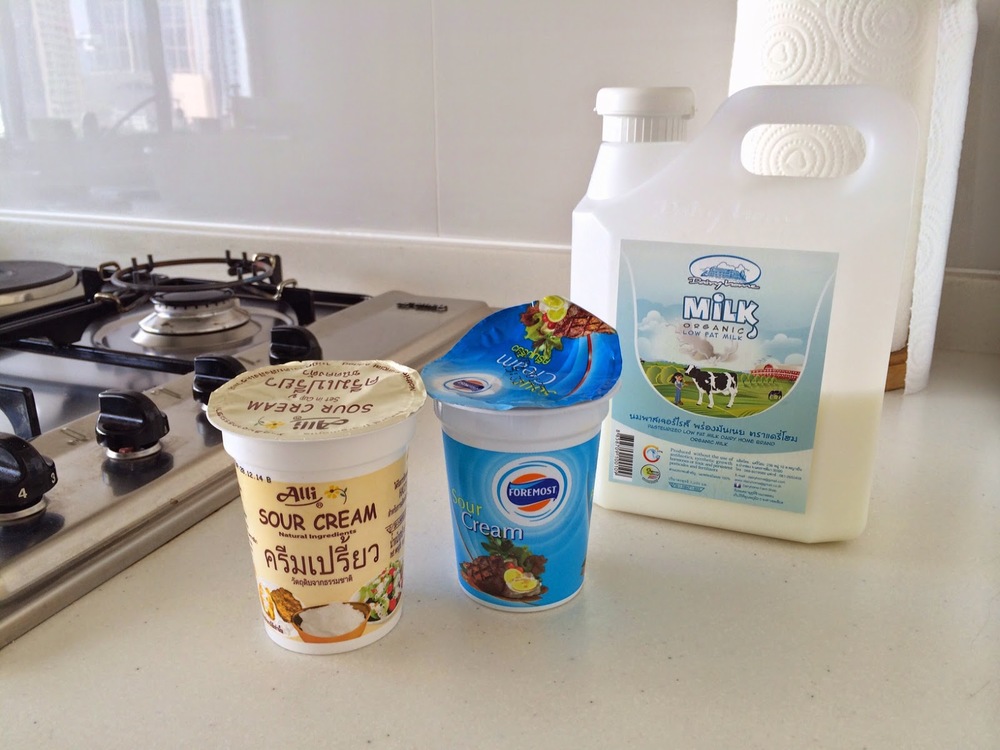
2/3 sour cream, 1/3 milk
OR 1/3 sour cream, 1/3 cream, 1/3 milk
OR 300 gr cream (liquid whipped cream)

How to:


1) Make your own crust pastry:  Sieve flour and baking soda, add salt, cut cold butter into deices, add the cold egg, work with hands. Make a pastry ball and let it sit for 20min in the fridge.

2) In the meantime cut the onion and fry it with a bit of butter in a hot pan until golden brown.

3) Use a bit of butter for the form, and lay out the pastry flat (I press it in by hand, or you can roll it out first and place the thin layer of pastry), pre-bake blind (with weight of beans on baking paper or aluminium foil) at 180 degree Celsius for 15 min.

blind baking with weight of beans

4) In the meantime: If you use ham or bacon, fry it in the pan. If you use vegetables, clean, cut and blanch or pre-cook them a bit.

5) Take out the quiche form from the oven and remove the weight, let the crust cool.

6) Mix eggs, add nutmeg, pepper and salt. Add sour cream / cream and milk, whisk more. Add onions.
 
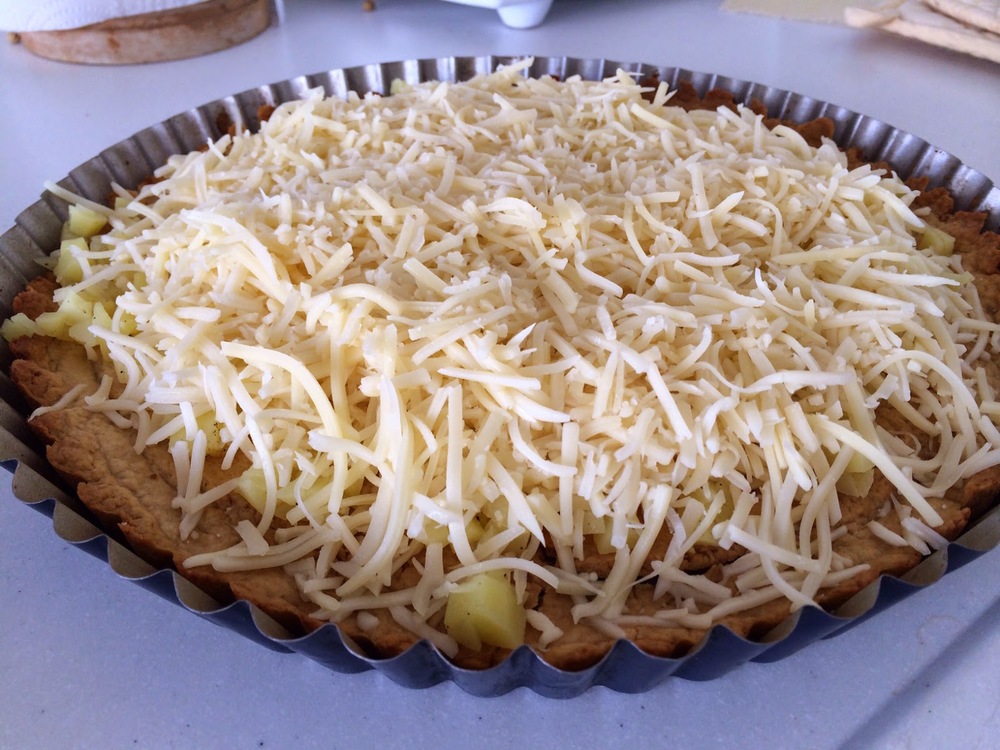
top short crust with grated cheese
 
7) Lay on the crust the bacon and ham (for classic version) or vegetables (tip: spread first some mustard on the crust), then top it with the cheese and pour liquid mix of egg and cream over it carefully.
quiche baking: 180 degree Celsius 30-40 min

8) Bake at 180 degree for 30-40 min (check after 30 min.) If it is getting to dark, cover with baking paper or aluminum foil.

Serve at room temperature or re-heat. A quiche can last several days in the fridge.


Inspiration


I started blogging to chronicle our renovation project and to file inspiration. Below is a collection of links to inspiring blogs sorted by subject:


+++ Inspiring Design Blogs +++

Apartment Therapy *

Aspiring Kennedy (lifestyle and design)

Cote de Texas (French Design in Texas)

Decor 8 *

Desire to Inspire *

From the Right Bank *

Habitually Chic *

Houzz * (great finds for remodelers, allocate your own ideabook)

Interiors

Ohhh... Mhhh... (Design und Food Blog von Steffi)

Patricia Gray *

Remodelista *

San Francisco Girl by Bay *

The Cool Hunter (professional hunters for cool design)

The Style Files *

The Peak of Chic

Velvet and Linen *

...

*) professional interior designer and regular bloggers since many years


+++ Italian Blogs +++

Bleeding Espresso (written by Michelle in Badolato, Calabria)

Renovating Italy (serial renovator Lisa and the real simple life)


+++ Inspiring Elsewhere +++

A Cup of Jo

Beijing Notebook (random observation noted in Beijing China, my very first blog)

Collage of Life

Flower Hill Farm (absolutely stunning nature and bird photography)

Joburg Expat

My Marrakesh


+++ Inspiring Art links +++

Guggenheim

Tate (Tate Gallery London)

Painting Perceptions (interviews with artists)

Saatchi Online (popular gallery of modern art for collectors and artists)

WikiPaintings (visual art encyclopedia)


+++ Food Links +++

Sweet Paul

The Alkaline Sisters

Simply Recipes


+++ Fashion +++

The Sartorialist


+++ Travel +++

Lara Dunston


LIFE IN ASIA

We spend time in spring and summer in our house in Italy. The rest of the year we live in Thailand. On this page, Life in Asia, I want to document some observations on life away from Italy.  

+++ 

published so far:

What Italians and Thai have in common - Food

Spring Cleaning in May - why I give "Life in Asia" a try on Palazzo Pizzo

Beijing Notebook - my blog while living in Beijing, China (2005-2008)

+++

coming next:  What Italians and Thais have in common - Family

+++

Remark about the photo above (copyright 2013 Palazzo Pizzo):

The left half shows some branches of a purple Bougainvillea flower that is growing over a wall of a private garden in a sub-street of Sukhumvit Road in central Bangkok. I found Bougainvillea, which I like a lot, very symbolic for my new aim to combine my two blog subjects, Italy and Thailand, because this plant grows well in both tropical and mediterranean climate. 

Christmas time in Pizzo!


Natale in Pizzo
 

The photo that Angelo sent me last night is so beautiful that I changed our facebook page cover for the first time to share the Christmas feeling in the South of Italy.

This week the temperatures are from 6 degree (lowest during night) up to 15 degree Celsius during the day. Winter clothes and heating is definitely required as occasional rain and wind make it feel more chilly.

 
This year's festive illumination (luminarie) in Pizzo is especially beautiful. On December 8, with the fiesta of the "immaculate conception", the day Italians traditionally decorate their homes for Christmas, a procession took place in Pizzo's piazza. I shared a photo and a link on Facebook. Click below and read more about this special day in Italy: 


Renovating an external wall - correcting an error of our previous renovation

Renovation reloaded (November 2014)

We are renovating again an external wall, that was beautiful restored during our previous main renovation six years ago in November 2008. See my post about how to renovate the side facade here. It included a voting by readers, and the result is presented here.

It turned out, the decision we made back then was an error, as the bare stone wall was deteriorating over time and soaked in all rain water in some particular areas. With the result of having humidity spots on the inside which dried out during summer, but let the plaster and paint on the inside constantly come off the walls. That was not a problem in the guest residence as the residence has a different surface on the outside walls, but in our living room on the ground floor, and in the master bath and guest room upstairs.

deteriorating stone wall (July 2014)

The picture (above) was taken during the procession of La Madonna del Carmine in July 2014 and shows at least one of the crucial areas.

Why did we wait so long for the correction?

First it was not clear where the water infiltrated. It looked more like a leak on the roof terrace and on one balcony. But then it became more and more visible from the outside.

Second, we lost many months and weeks thanks to our reluctant neighbor who had to give access to our wall.


after applying impregnation paint, foam is added for further insulation

fixing the foam to the wall with these blue pins
foam fixed

The new method of renovating this external wall: applying an impregnation paint on the stone wall. After that a 4 cm thick insulating foam was fixed on the wall (with blue pins, see above). And at the end, a finishing of colored plaster comes on top.


a glimpse of the new look (December 2014)

A large portion of our first year's vacation rental earnings will go into that wall.... But that is the purpose of renting out our guest residence. The income should help to maintain and improve the residence and to pay the running cost of the house. Hopefully, we won't have this kind of major spending on renovation again any time soon, and will be able to build up some reserve funds. Our project remains a project ... but a wonderful one.

See below the side façade over the years. And now, just in time before some rainy days, we finished the insolation and plaster work.


house in 2006 before renovation project started

after renovation in November / December 2008

after 2nd renovation December 2014